

Installing artificial grass is a straightforward process that can significantly enhance your outdoor space. By choosing the right turf, preparing the area properly, and following the installation steps carefully, you can enjoy a beautiful, low-maintenance lawn for years to come.
Top Tips:
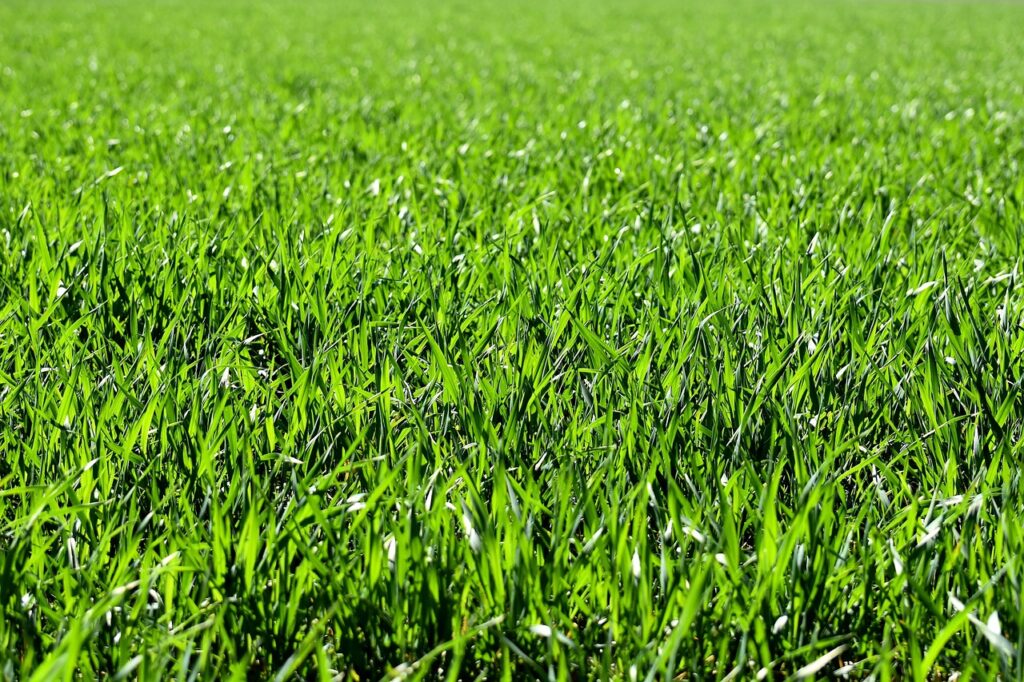
- Consider the Use: Think about how the area will be used. For high-traffic areas, such as play zones or sports areas, opt for a more durable, thicker pile. For decorative areas, you might prefer a softer, more natural-looking grass.
- Pile Height: Choose a pile height that suits your needs. A 30-40mm pile height gives a natural look and feel, while shorter piles, like 8mm, are ideal for putting greens or exhibition spaces.
- Colour: Look for a turf with a blend of dark and light green tones for a more natural appearance.
- Drainage: Ensure the turf has good drainage capabilities, especially if you live in a rainy climate or are installing it in a pet-friendly area.
Preparation Required
Step 1: Measure and Mark the Area
- Measure your space carefully to determine how much turf you’ll need. Order a bit extra to allow for cutting and fitting.
- Mark the area with spray paint or string to outline where the turf will be installed.
Step 2: Clear the Area
- Remove any existing grass, plants, or debris. You want a clean, flat surface to work with.
- If you’re installing over soil, remove the top layer (about 50-100mm) to make room for the sub-base.
Step 3: Install a Sub-Base
- Lay down a sub-base of crushed stone or aggregate (50-75mm thick). This provides a stable foundation and helps with drainage.
- Compact the sub-base with a plate compactor or a hand tamper to create a solid, even surface.
Step 4: Weed Barrier Fabric
- Roll out a weed barrier fabric over the sub-base to prevent any unwanted plants from growing through your new turf. Secure it with landscape staples.
Installing the Artificial Grass
Step 1: Roll Out the Turf
- Lay the turf over the area, making sure the pile is facing the same direction for a uniform look.
- Allow the turf to acclimatize for a few hours, especially in hot weather, to prevent wrinkles.
Step 2: Cutting and Fitting
- Use a sharp utility knife to trim the edges of the turf to fit the space. Cut carefully around obstacles like trees or garden beds.
- When joining multiple pieces, ensure the seams are tight and the fibres are aligned.
Step 3: Secure the Turf
- Secure the turf edges with galvanized U-pins or nails every 15-20cm. This prevents the edges from lifting.
- For seams, use outdoor-rated adhesive and joint tape, pressing down firmly to ensure a strong bond.
Step 4: Sand Infill (Optional)
- For added stability and to keep the fibres upright, you can spread a layer of kiln-dried sand over the turf. Brush the sand into the fibers using a stiff broom.
Step 5: Brushing and Finishing Touches
- Brush the turf against the grain to lift the fibres and create a natural look.
- Inspect the area to ensure the turf is secured and even. Trim any loose edges or excess material.
Maintenance Tips
- Brush Regularly: Keep the fibres looking their best by brushing them up occasionally, especially in high-traffic areas.
- Rinse to Clean: Hose down the turf to remove dust, dirt, and pet waste. For stubborn spots, use a mild detergent and water.
- Weed Control: While rare, weeds can sometimes sprout around the edges. Remove them as soon as they appear.


